
Lync2010 - AsteriskNOW 2.0 Integration Guide
After 2 days of head-banging configuring, testing and looking up dozens of blogs, I finally got my Lync2010 Server working with AsteriskNOW 2.0. Much of the blogs in the internet were written some time back and were applicable for older version of Asterisk so I'm writing this article to help anyone trying to get Lync working with the latest version of Asterisk as of Sep 2012. I've also added some troubleshooting tips that I learned along the way. The high level overview of the steps I took are
1. Install and configure Asterisk with 2 user extensions
2. Connect X-Lite to Asterisk and verify call functionality
3. Create the SIP Trunk on Asterisk
4. Create the Inbound/Outbound Routes on Asterisk
5. Configure additional SIP settings for Asterisk
6. Configure the necessary Dial Plans and Voice Policies in Lync
7. Test calling between CX600 Lync phone edition and X-Lite (connected to Asterisk)
Step 1: Install and configure Asterisk with 2 user extensions
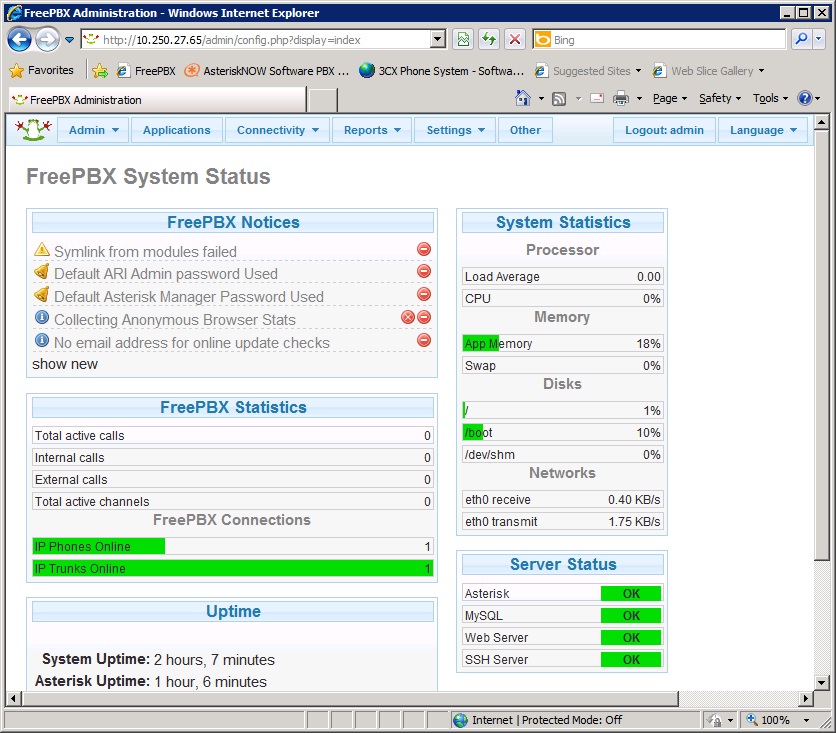
You can install a complete Asterisk PBX system with a graphical UI fairly easily by following the AsteriskNOW 2.0 Quickstart Guide here: http://www.asterisk.org/asterisknow/quickstart. I choose to install Asterisk with FreePBX rather than Asterisk alone as I prefer to work with a GUI and I used a standard Hyper-V image for the install. You do not need to follow the entire guide since the later sections refer to configuring Digium phones and we will be using X-Lite as a softphone for Asterisk instead. Simply follow the steps in the guide up to the point where you're able to login to the FreePBX Administration home screen from a browser as shown below:
In case the guide is no longer available online I've copied the relevent sections in the attached PDF file for your easy reference.
| asterisknow_2.pdf |
Next we will create 2 Asterisk users with extensions. On the FreePBX Admin page click on Applications and then choose "Generic SIP Device" and click Submit.

This will take you to the Add an Extension screen. Assign a suitable extension number according to your dial plan. For my environment, I use 4-digit extensions for Lync covering 9xxx and Asterisk covering 3xxx. In this screen, I create a new user Sarah and assign her the extension 3000. In the secret field enter a password. The remaining field can be left as default and then click Submit.

|

|
Following the steps above create another extension for another user. The extensions will appear in the top right of the screen. Click on one of the newly created users and scroll down to look at the Context field. It should be "from-internal" as shown below and is created automatically by default. This field is important as we will use it in the trunk definition later.

|
Step 2: Connect X-Lite to Asterisk and verify call functionality
Now install the X-Lite client which can be downloaded at http://www.counterpath.com/x-lite-download.html. I'm using X-lite version 3.0 which looks like the image below. Go to SIP Account Settings and Add a new SIP account to login to Asterisk. Enter the fields as shown below and leave the remaining as default. The User Name and Authorization User Name are both the extension number and the password is the secret that was entered earlier when creating the extension in FreePBX. For Domain enter the IP address of the Asterisk server:

|

|
Repeat the same the 2nd user and then try to make calls between these 2 users. Once that is working your Asterisk PBX is up and ready for the next step
Step 3: Create the SIP Trunk on Asterisk
On the FreePBX admin page, click on Connectivity->Trunks and then click on Add SIP Trunk. On the Add SIP Trunk page, enter a name for the Trunk and leave the Dialed Number Manipulation rules blank. We will manipulate numbers when we create our inbound/outbound routes. Scroll down to Outgoing Settings and here you will need to enter a number of critical parameters in the PEER Details box which is required for the Trunk to work. The parameters are explained below

|

|
host=10.250.27.54 -> This is the IP address of the Lync Mediation Server
transport=tcp,udp -> Specifies the transport to be used
port=5060 -> Port number that the Lync Mediation Server listens to for TCP. By default this is 5068 in Lync
but to avoid opening firewall port 5068 on the Asterisk server we just just 5060 which already open
insecure=very -> As recommended by other experts
fromdomain=10.250.27.65 -> This is the IP address of the Asterisk server
context=from-internal -> This must match the context field of the user created in Asterisk as highligted in Step 1
promiscredir=yes -> As recommended by other experts
qualify=yes -> As recommended by other experts
canreinvite=yes -> As recommended by other experts
Lastly, make sure the User Context and USer Details fiels are left empty. Click on Submit Changes to create the SIP Trunk.
Step 4: Create the Inbound/Outbound Routes on Asterisk
With the SIP Trunk created, we can proceed to create the Inbound/Outbound routes to/from Lync. On the FreePBX admin page. click on Connectivity-> Inbound Routes. On the Add Incoming Route page, enter a description and leave all the DID Number and CallerID Number fields blank to include all DIDs/CIDs in this route. In the Set Destination section, select Trunk in the drop down and choose the Lync trunk created in Step 3. Then click Submit Changes to create the inbound route:

|

|
Next, create and Outbound Route by clicking Connectivity->Outbound Routes. In the Add Route page, enter a name for the route. Then on the Dial Patterns, enter the Lync E.164 extension prefix in the box enclosed in (brackets). For example in my Lync server the TEL URIs are of the format +656389XXXX with 4-digit extensions beginning with 9 eg 9123 so the full TEL URI would be +6563899123. The extension prefix will be +656389 and this needs to be added in the box so that Aterisk will prepend this to the dailed 4-digit number when sending the call to Lync. Then in the Trunk Sequence section select from the dropdown box the Trunk created in Step 3.

|

|
Click on Submit Changes to create the outbound route.
Step 5: Configure additional SIP settings for Asterisk
There are two additional parameters to be set on the Asterisk server which is unfortanately not available on the FreePBX Admin GUI. To add these parameters, you need to edit a file on the Asterisk server called /etc/asterisk/sip_custom.conf. There are several ways to do this such as using WinSCP as mentioned in the other blogs but I prefer to do it by directly logging into the Asterisk CentOS based Linux server console and using the vi editor. On the Hyper-V Manager, double click the Asterisk VM and login as the root user and the password you specified in Step 1. At the Linux command prompt, type "vi /etc/asterisk/sip_custom.conf". The vi editor will start and you should see a blank screen except for the status line at the bottom which means the file is empty. Press "I" and the vi editor will allow you to insert text. Enter the 2 lines of text as shown in the image below. When finished typing, hit ESC and then type ":w" to save the file. The ":" puts you into command mode and "w" writes the file to disk. Then quit the vi editor by typing ":q" and you should return to the Linux command prompt. Finally restart the Asterisk services by typing /etc/init.d/asterisk restart

|

|